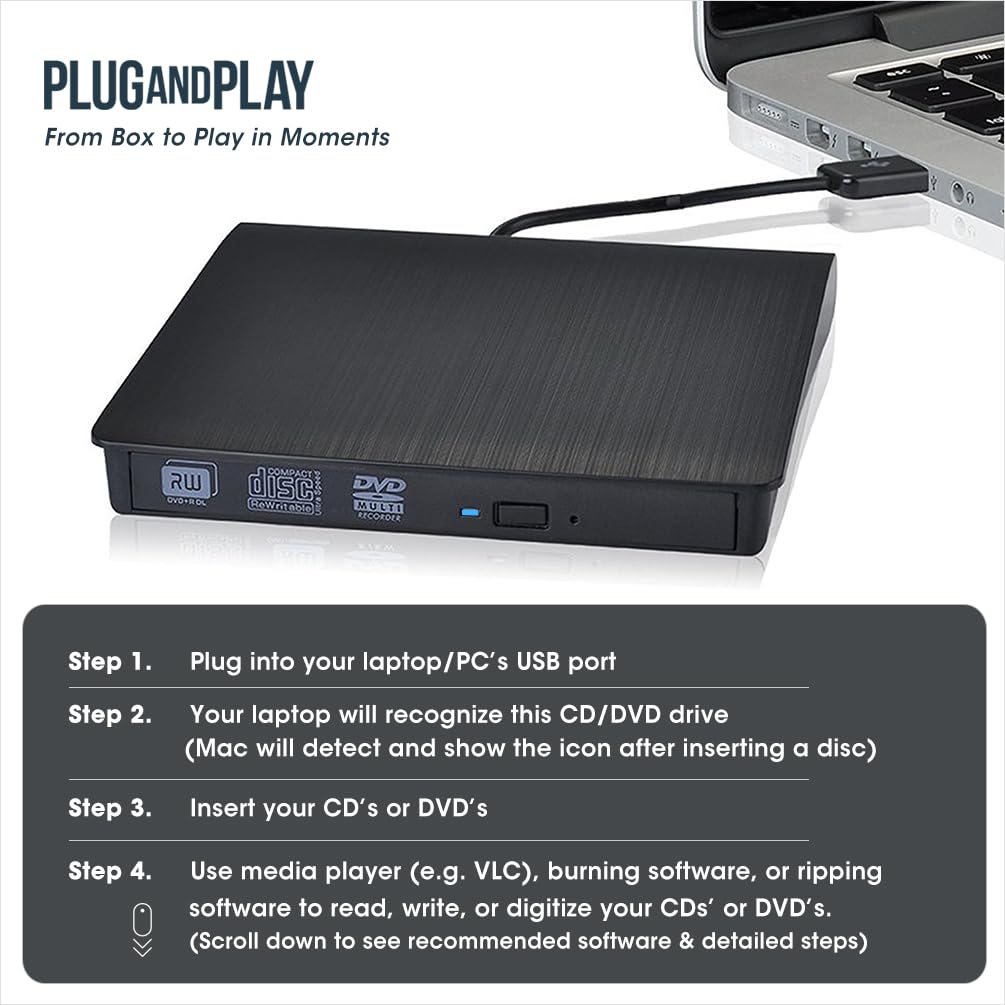
How to Use it on Windows Computers: Prepare playback, burning, or ripping software based on your needs, and network connection for Windows 11 > Connect the data cable (located under the drive) to your computer's USB-A or USB-C port directly, or through a self-powered USB hub > The system will automatically install the necessary driver, and a “DVD RW” icon will appear in Windows Explorer > For video DVDs, make sure to set the DVD region code to match your disc (e.g., Region 1 for US/Canada); CDs do not require a region setting > Insert the CD or DVD, then use your chosen software to play, burn, or rip > When finished, eject the disc by pressing the physical button or right-clicking the icon and selecting “Eject.”
Recommended Free Software for Windows: Audio CD Media Player (Windows Media Player, VideoLAN VLC Player); Video/Movie DVD Media Player (VideoLAN VLC Player, Kodi, 5KPlayer); Audio CD Burning Software (CDBurnerXP, ImgBurn); Video DVDs Burning Software (ImgBurn, BurnAware Free, CDBurnerXP); Audio CD Ripping Software (Windows Media Player, iTunes, Exact Audio Copy [EAC], Fre:ac); Video DVD Ripping Software (HandBrake, MakeMKV)
How to Set the Region Code in Windows: RRight-click the "DVD-RW Drive" icon and select "Properties" > Go to the "Hardware" tab and select your CD/DVD drive > Click "Properties" at the bottom > Open the "DVD Region" tab > Choose the correct region (e.g. Region 1 for US/Canada) and click "OK". (Note: You can only change the region code 4~5 times.)
How to Use it on Apple Mac Computers: Open Finder > Settings (or Preferences, depending on your macOS version) > Ensure "CDs, DVDs, and iOS Devices" is checked in the General Tab and Sidebar Tab if available > Prepare the media player, burning, or ripping software based on your needs (not all) > Plug the data cable (located under the drive) into your computer's USB-A or USB-C port directly or a self-powered USB hub > Insert your CDs or DVDs > The disc drive icon will appear on the desktop after a disc is successfully read > Use your installed software to play, burn, or rip the disc > After playback/burning, the tray cannot open via the button due to macOS limitations. To eject a disc on Mac computers after playback/burning, right-click on the desktop icon and select "eject," or choose "File" > "Eject" from the menu.
Recommended Free Software for Apple Mac: Audio CDs Media Player (Apple Music, iTunes, VLC Player); Video/Movie DVDs Media Player (VideoLAN VLC Player, Apple DVD Player); Audio CDs Burning Software (Apple Music, Burn, Express Burn); Audio CD Ripping Software (Apple Music, X Lossless Decoder, HandBrake); Video DVDs Burning Software (Burn for Mac, HandBrake, iDVD (Legacy), DVDStyler, iDVD [for old mac]); Video DVD Ripping Software (MakeMKV, HandBrake with VLC - Use VLC to read the DVD, and HandBrake to convert and rip it to your desired format).
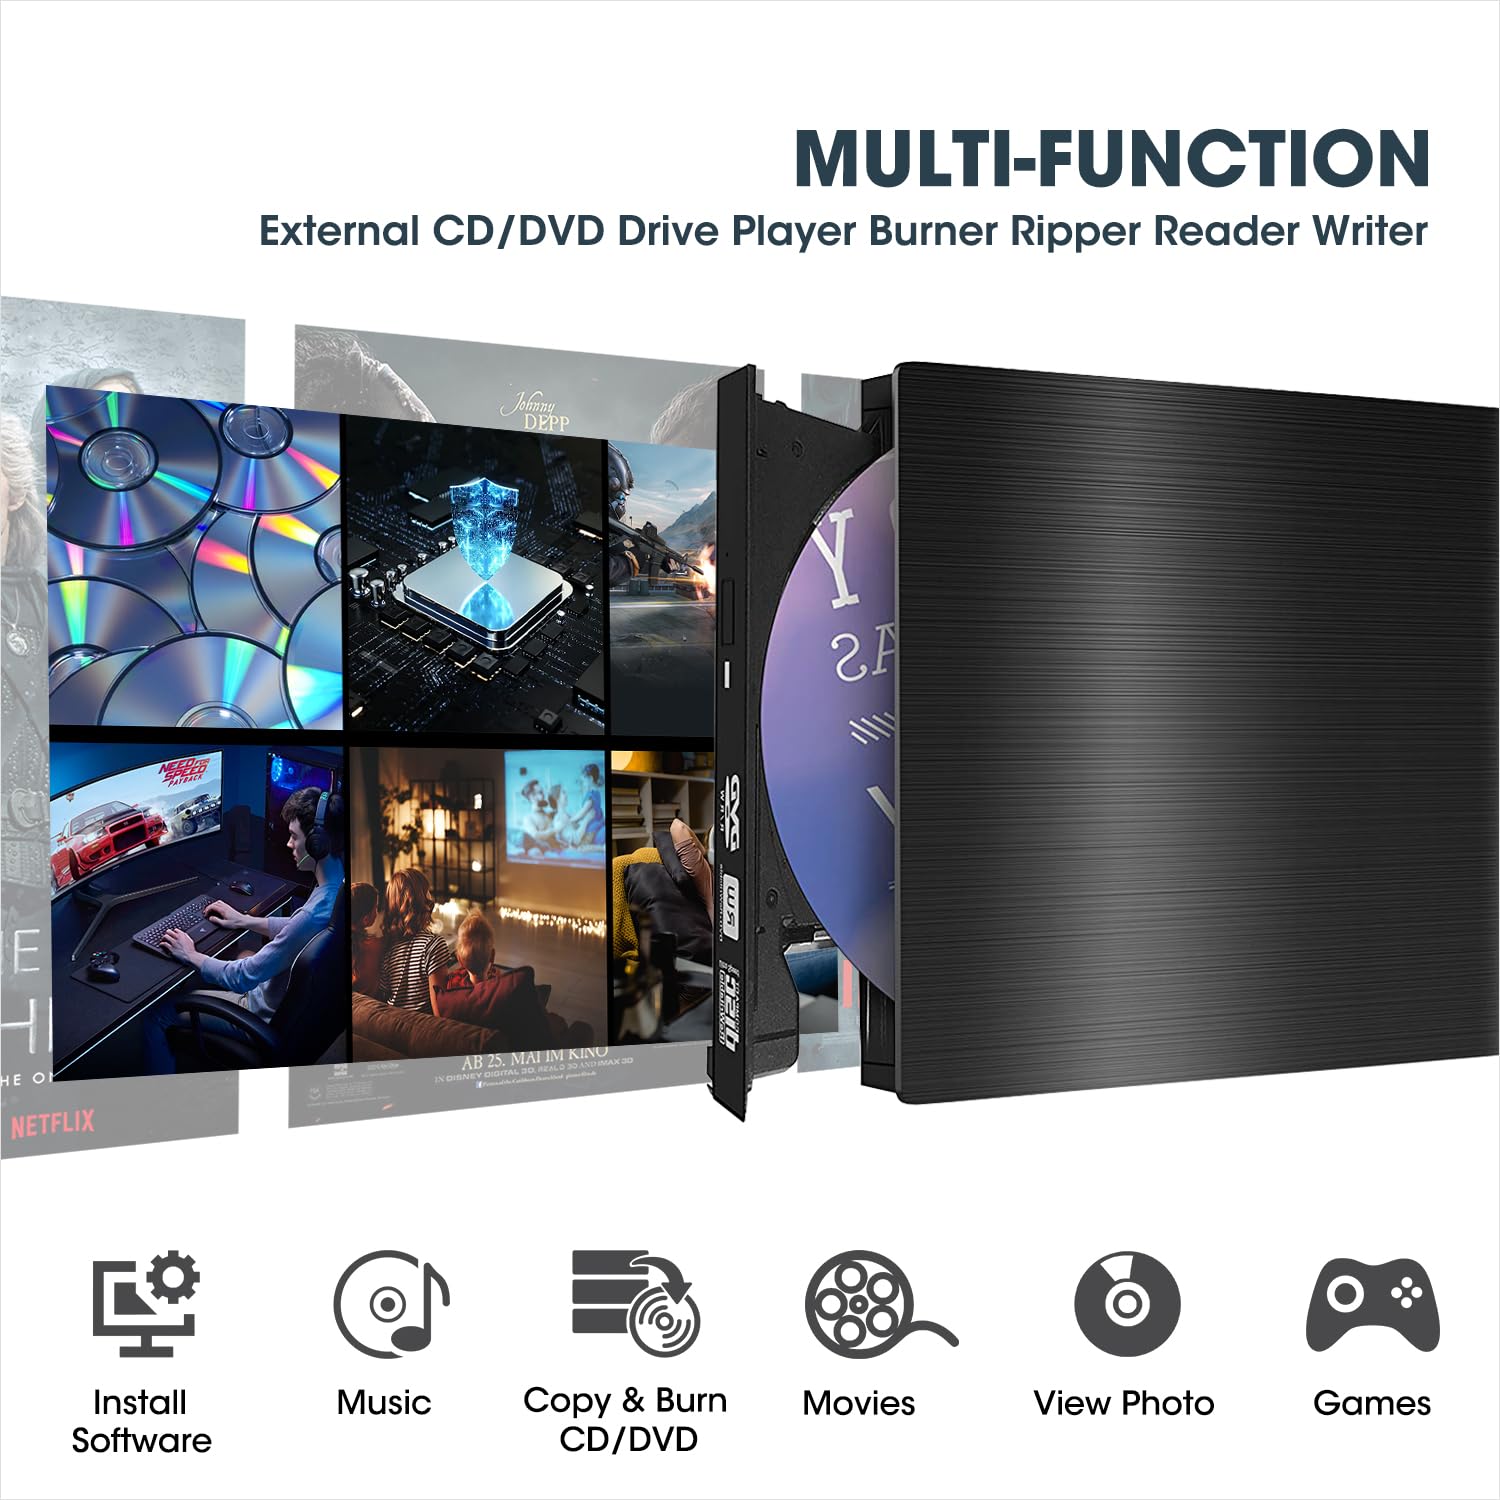
What's the Burning & Ripping: “Burning” means copying music, videos, or files from your computer onto a blank CD or DVD, while “ripping” means copying content from a CD or DVD onto your computer. These processes let you create custom discs or save physical media digitally.
Note Before Burning Discs: Before burning, ensure your blank disc capacity is sufficient (CD-R/CD-RW: 700MB or 80 min audio; DVD-R/DVD+R: 4.7GB or 2 hours video; Dual Layer DVD: 8.5GB for long videos), use the proper burning software, set a safe burning speed (10X or lower for CDs and 4X to 8X for DVDs), and confirm the file format is compatible with the blank disc (Supported audio formats: WAV, MP3, WMA, AAC [M4A]. For car or home CD players, burn in CD-DA format; Use MPEG-2, VOB, or MPG for DVD-Video.). To convert files into disc-compatible formats, use Burn (for Mac), DVDStyler (for Windows & Mac), or CDBurnerXP (for Windows). If burning a data disc for storage, you can include any standard file types without format conversion.
About Photo/Image Discs: Some photos cannot be viewed or downloaded on Mac and Windows due to incompatible disc formats, unsupported image files, copy protection, or disc damage. Both systems support JPEG, PNG, TIFF, BMP, GIF, HEIF, and most RAW formats, but some RAW files may need Preview, Photos, or third-party software to open.


 Contact


