Some guides for beginner of Gilding
Step 1: Clean the surface
Cleaning and or sanding the surface you plan to embellish. If your item has a more porous surface, you may need to apply a sealer before starting with the gold leaf.
Step 2: Brush on adhesive
Grab your paintbrush and jar of adhesive and apply a smooth coat on the item in your desired design. Wait for the adhesive to dry until it becomes slightly tacky.
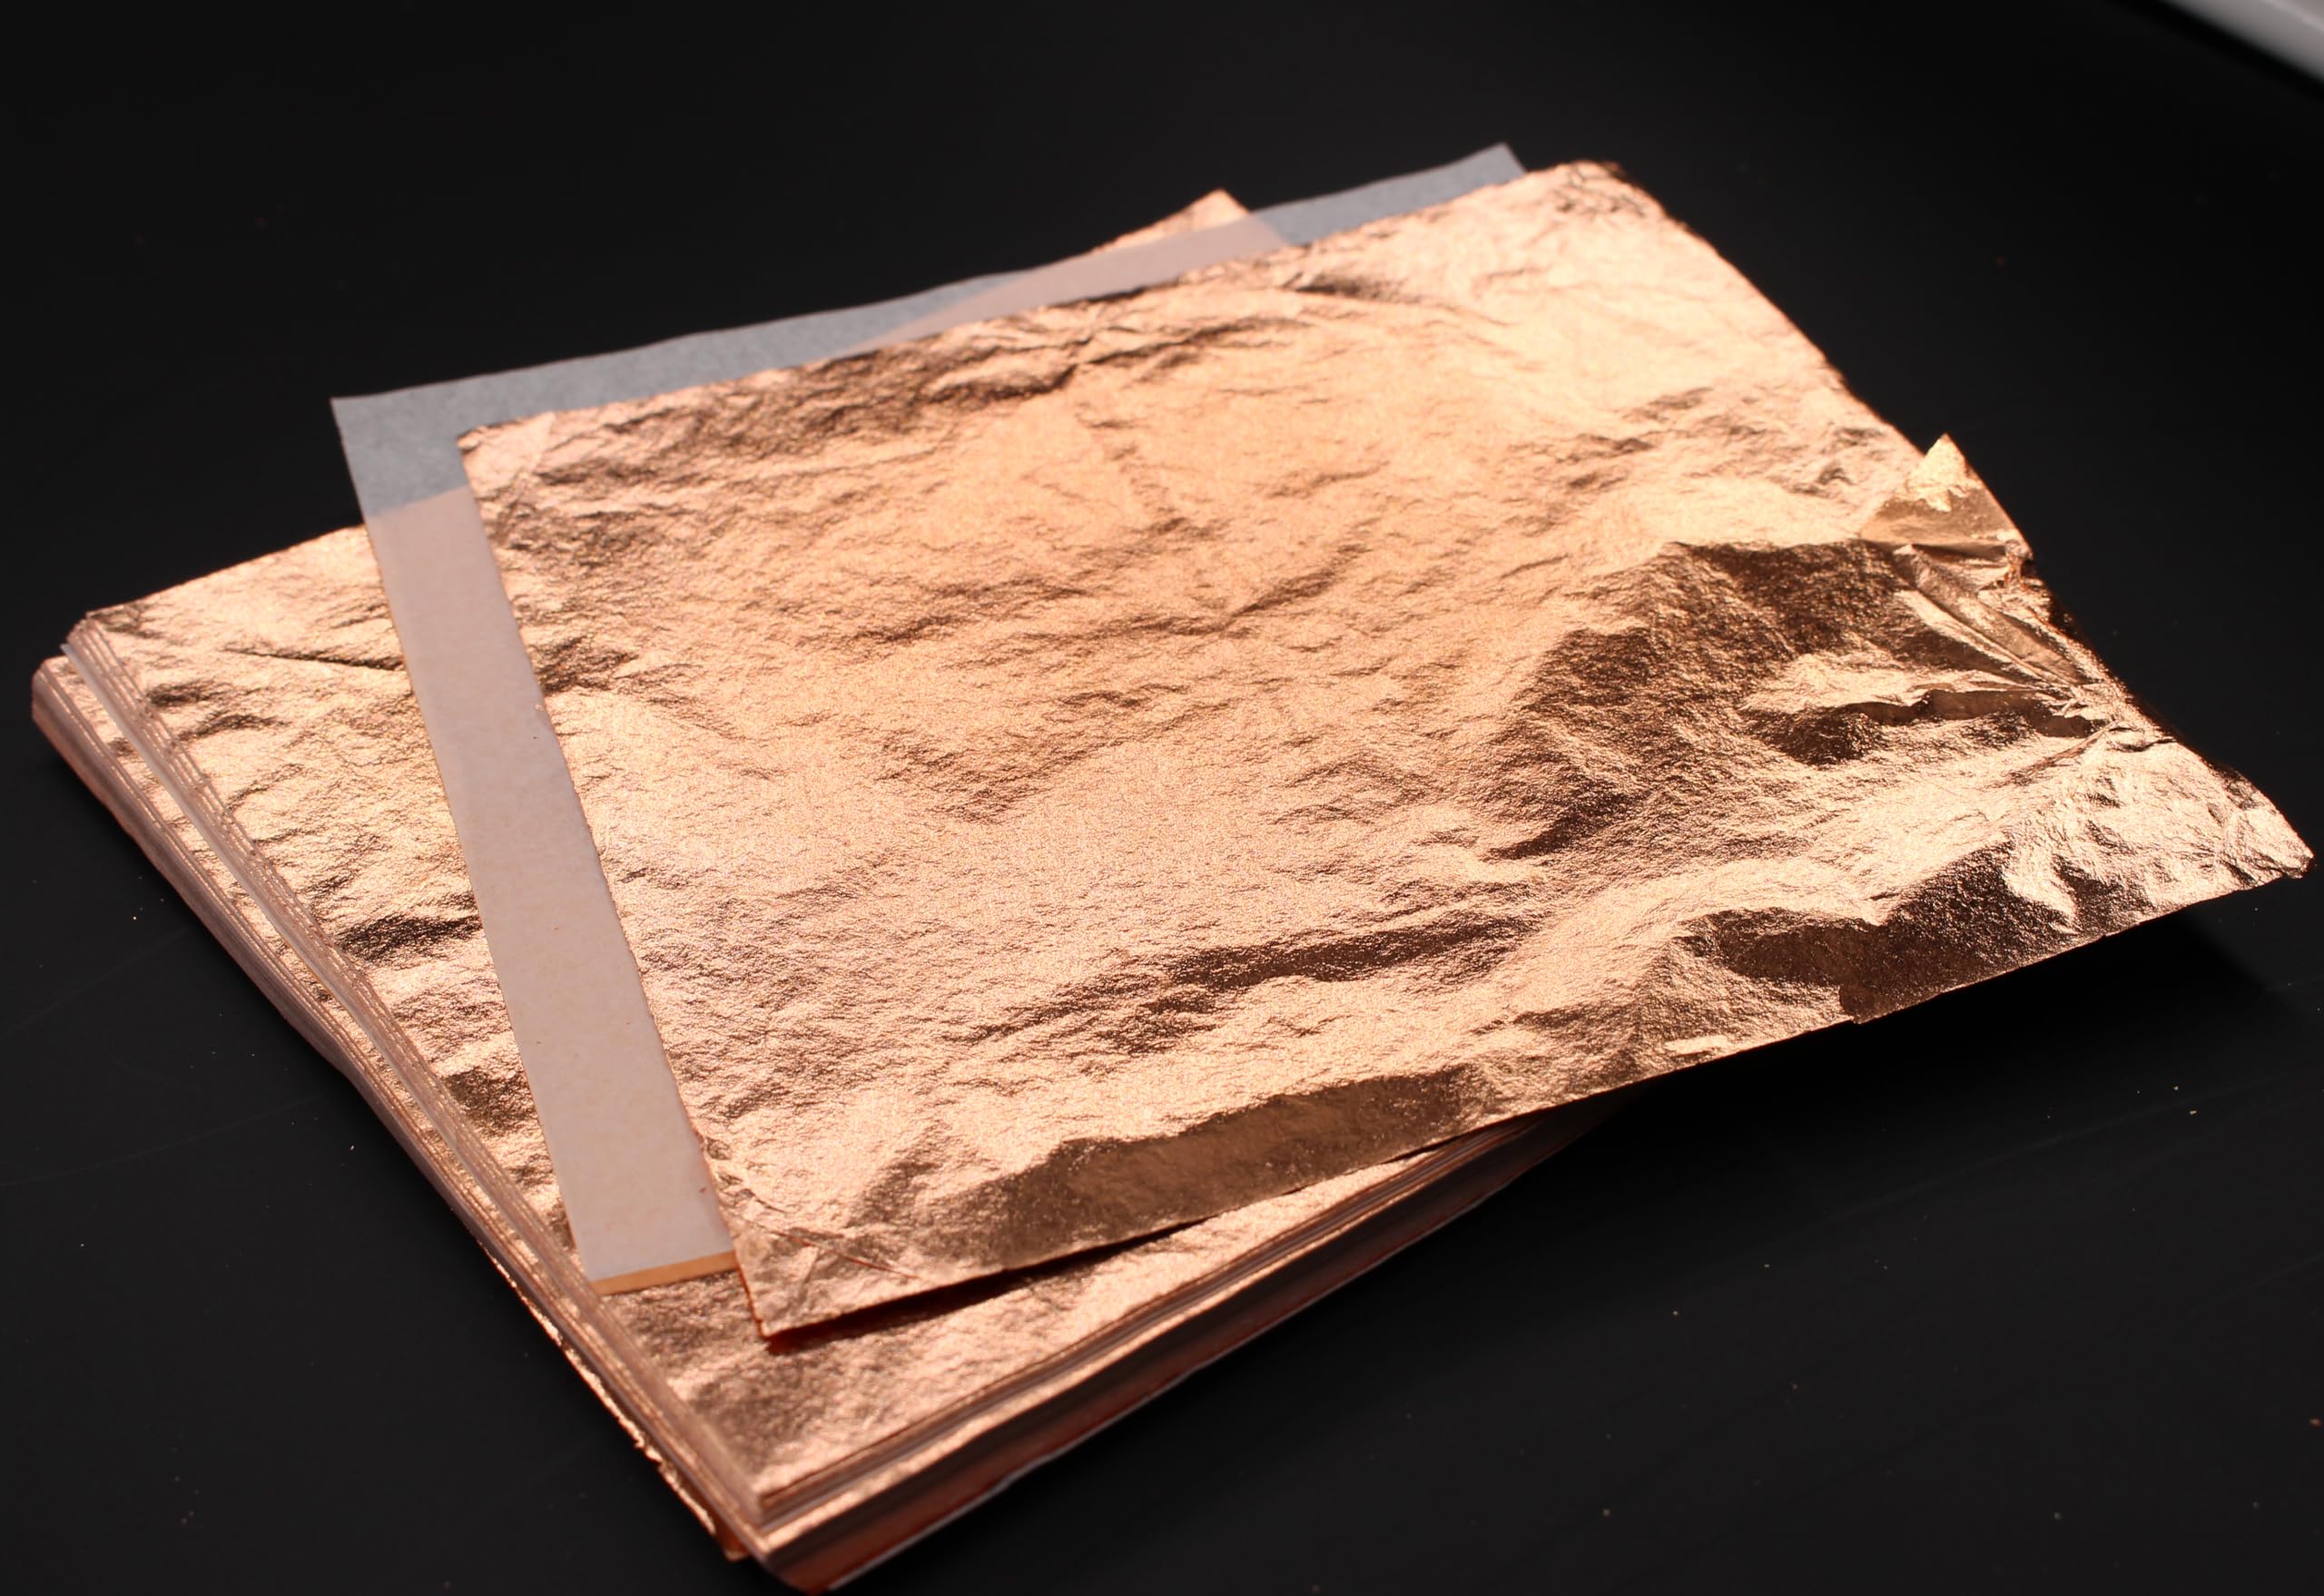
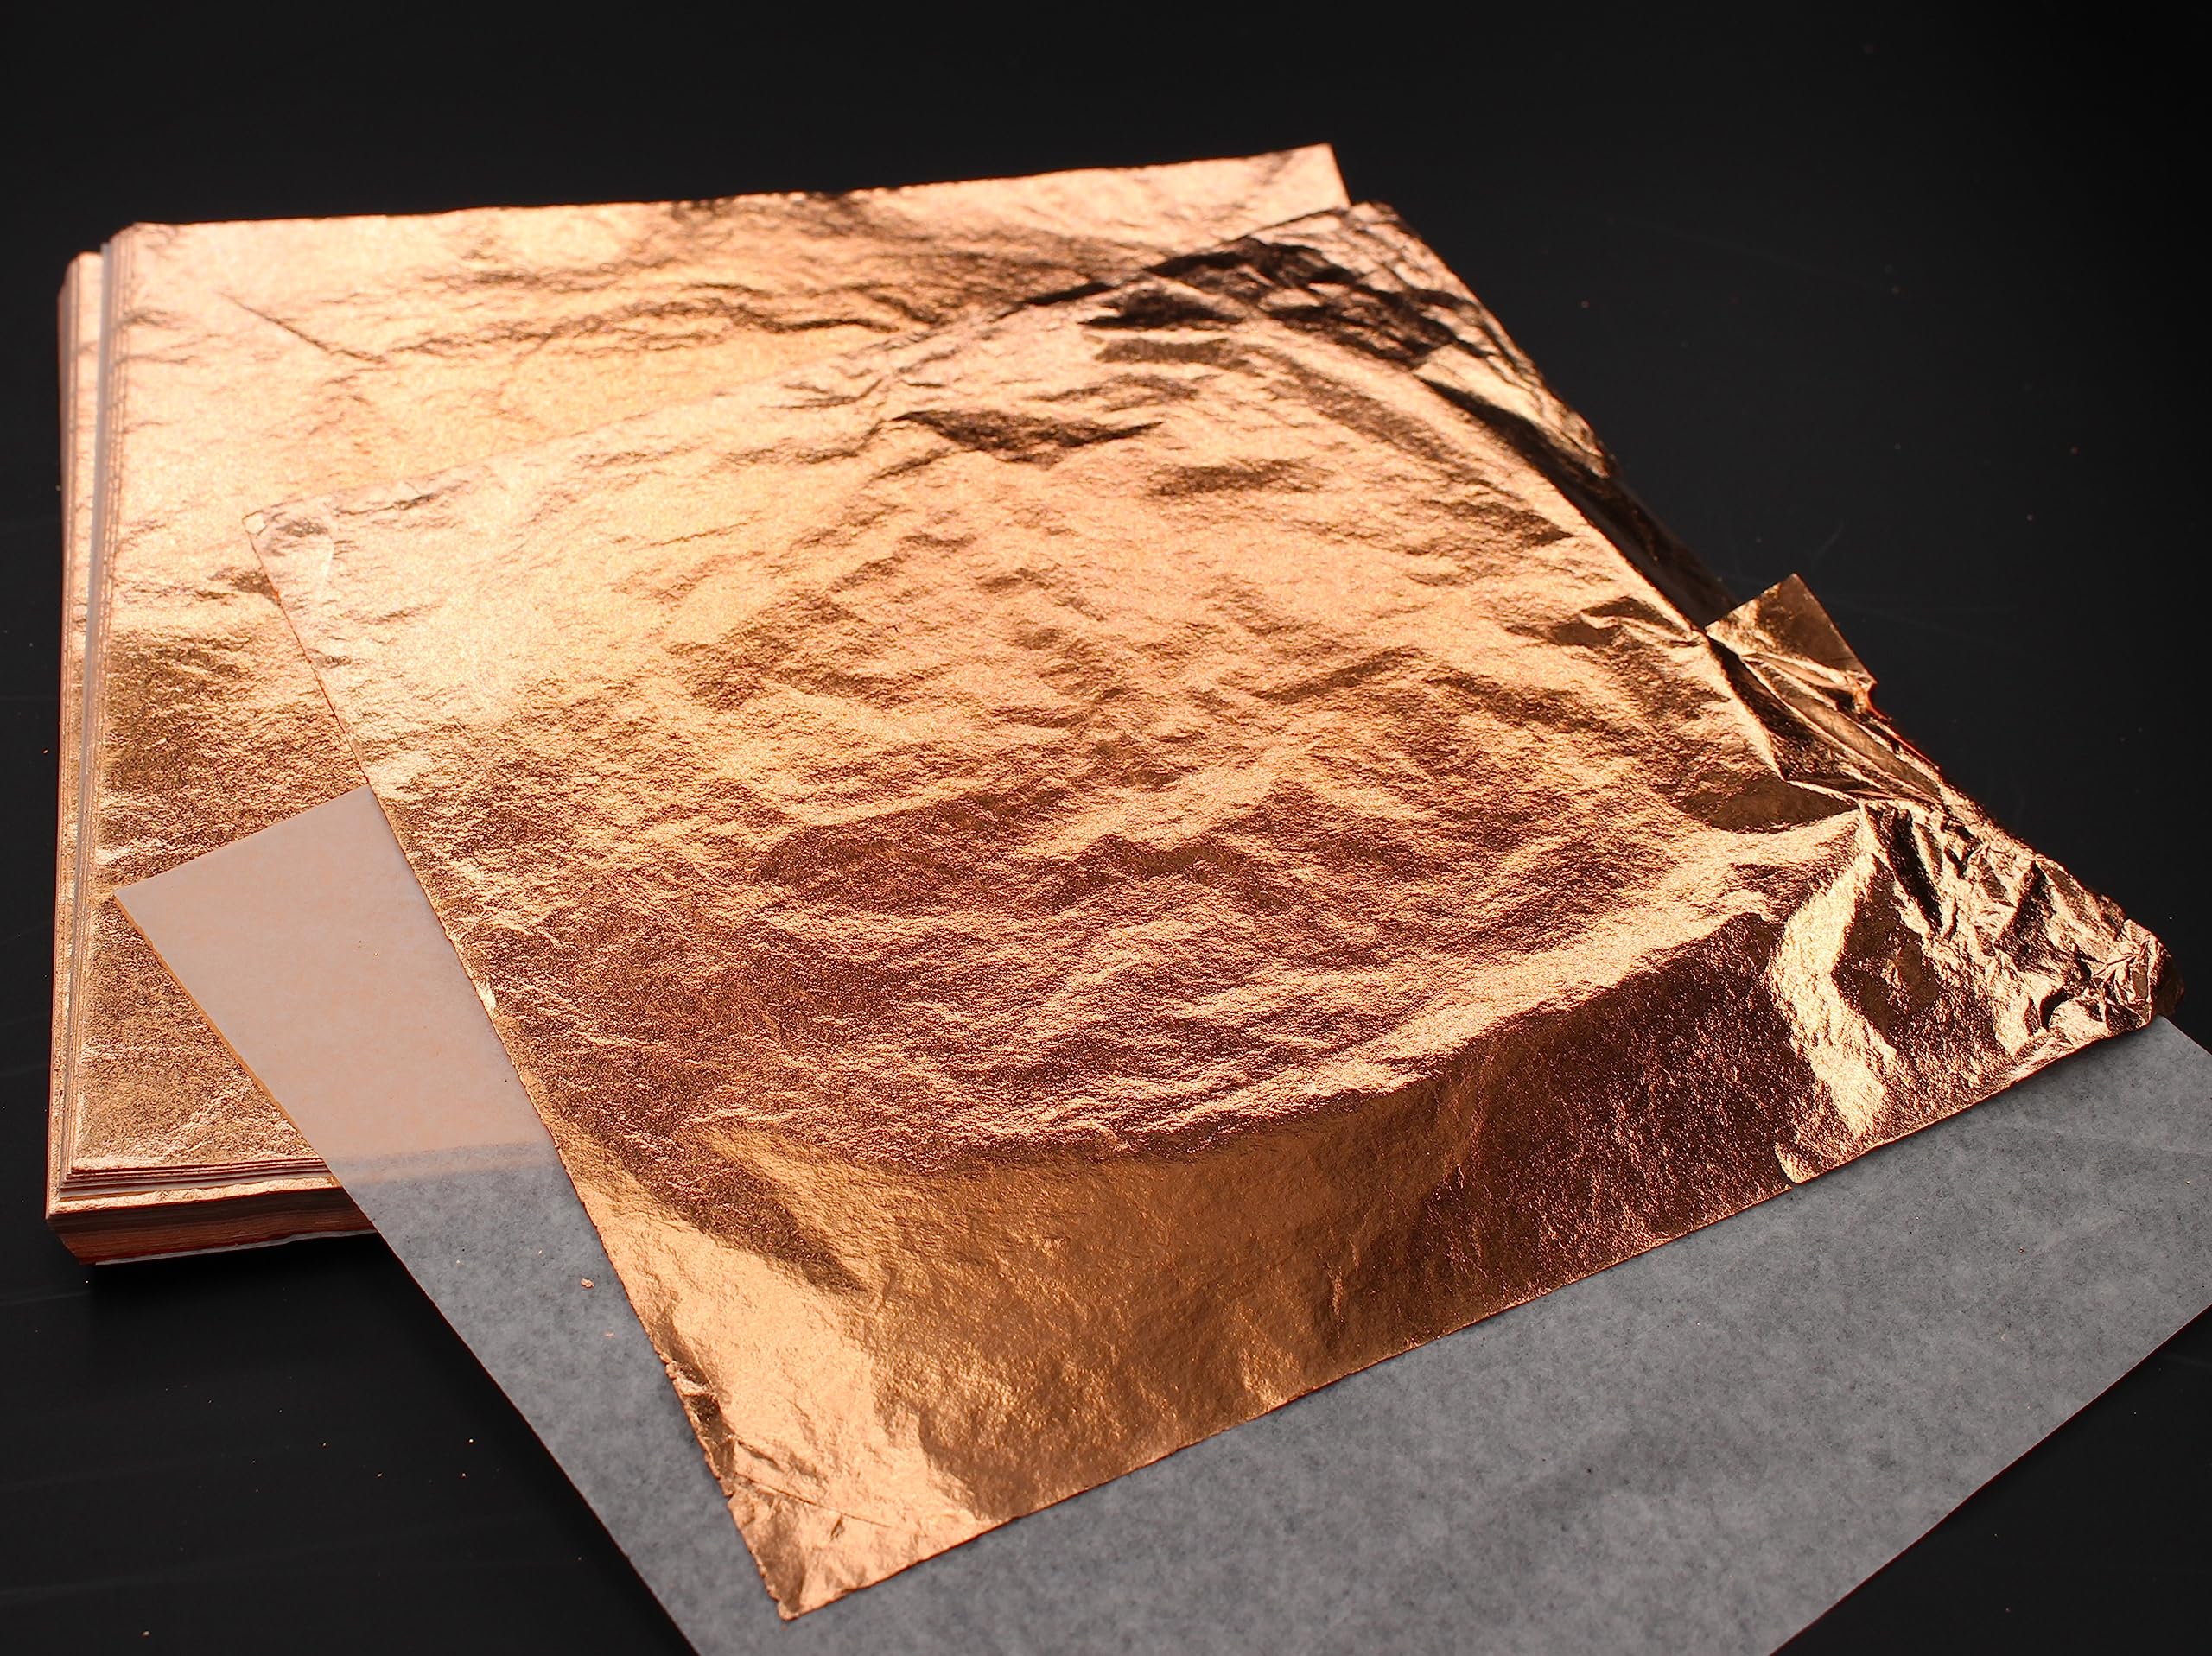
Step 3: Apply metal leaf
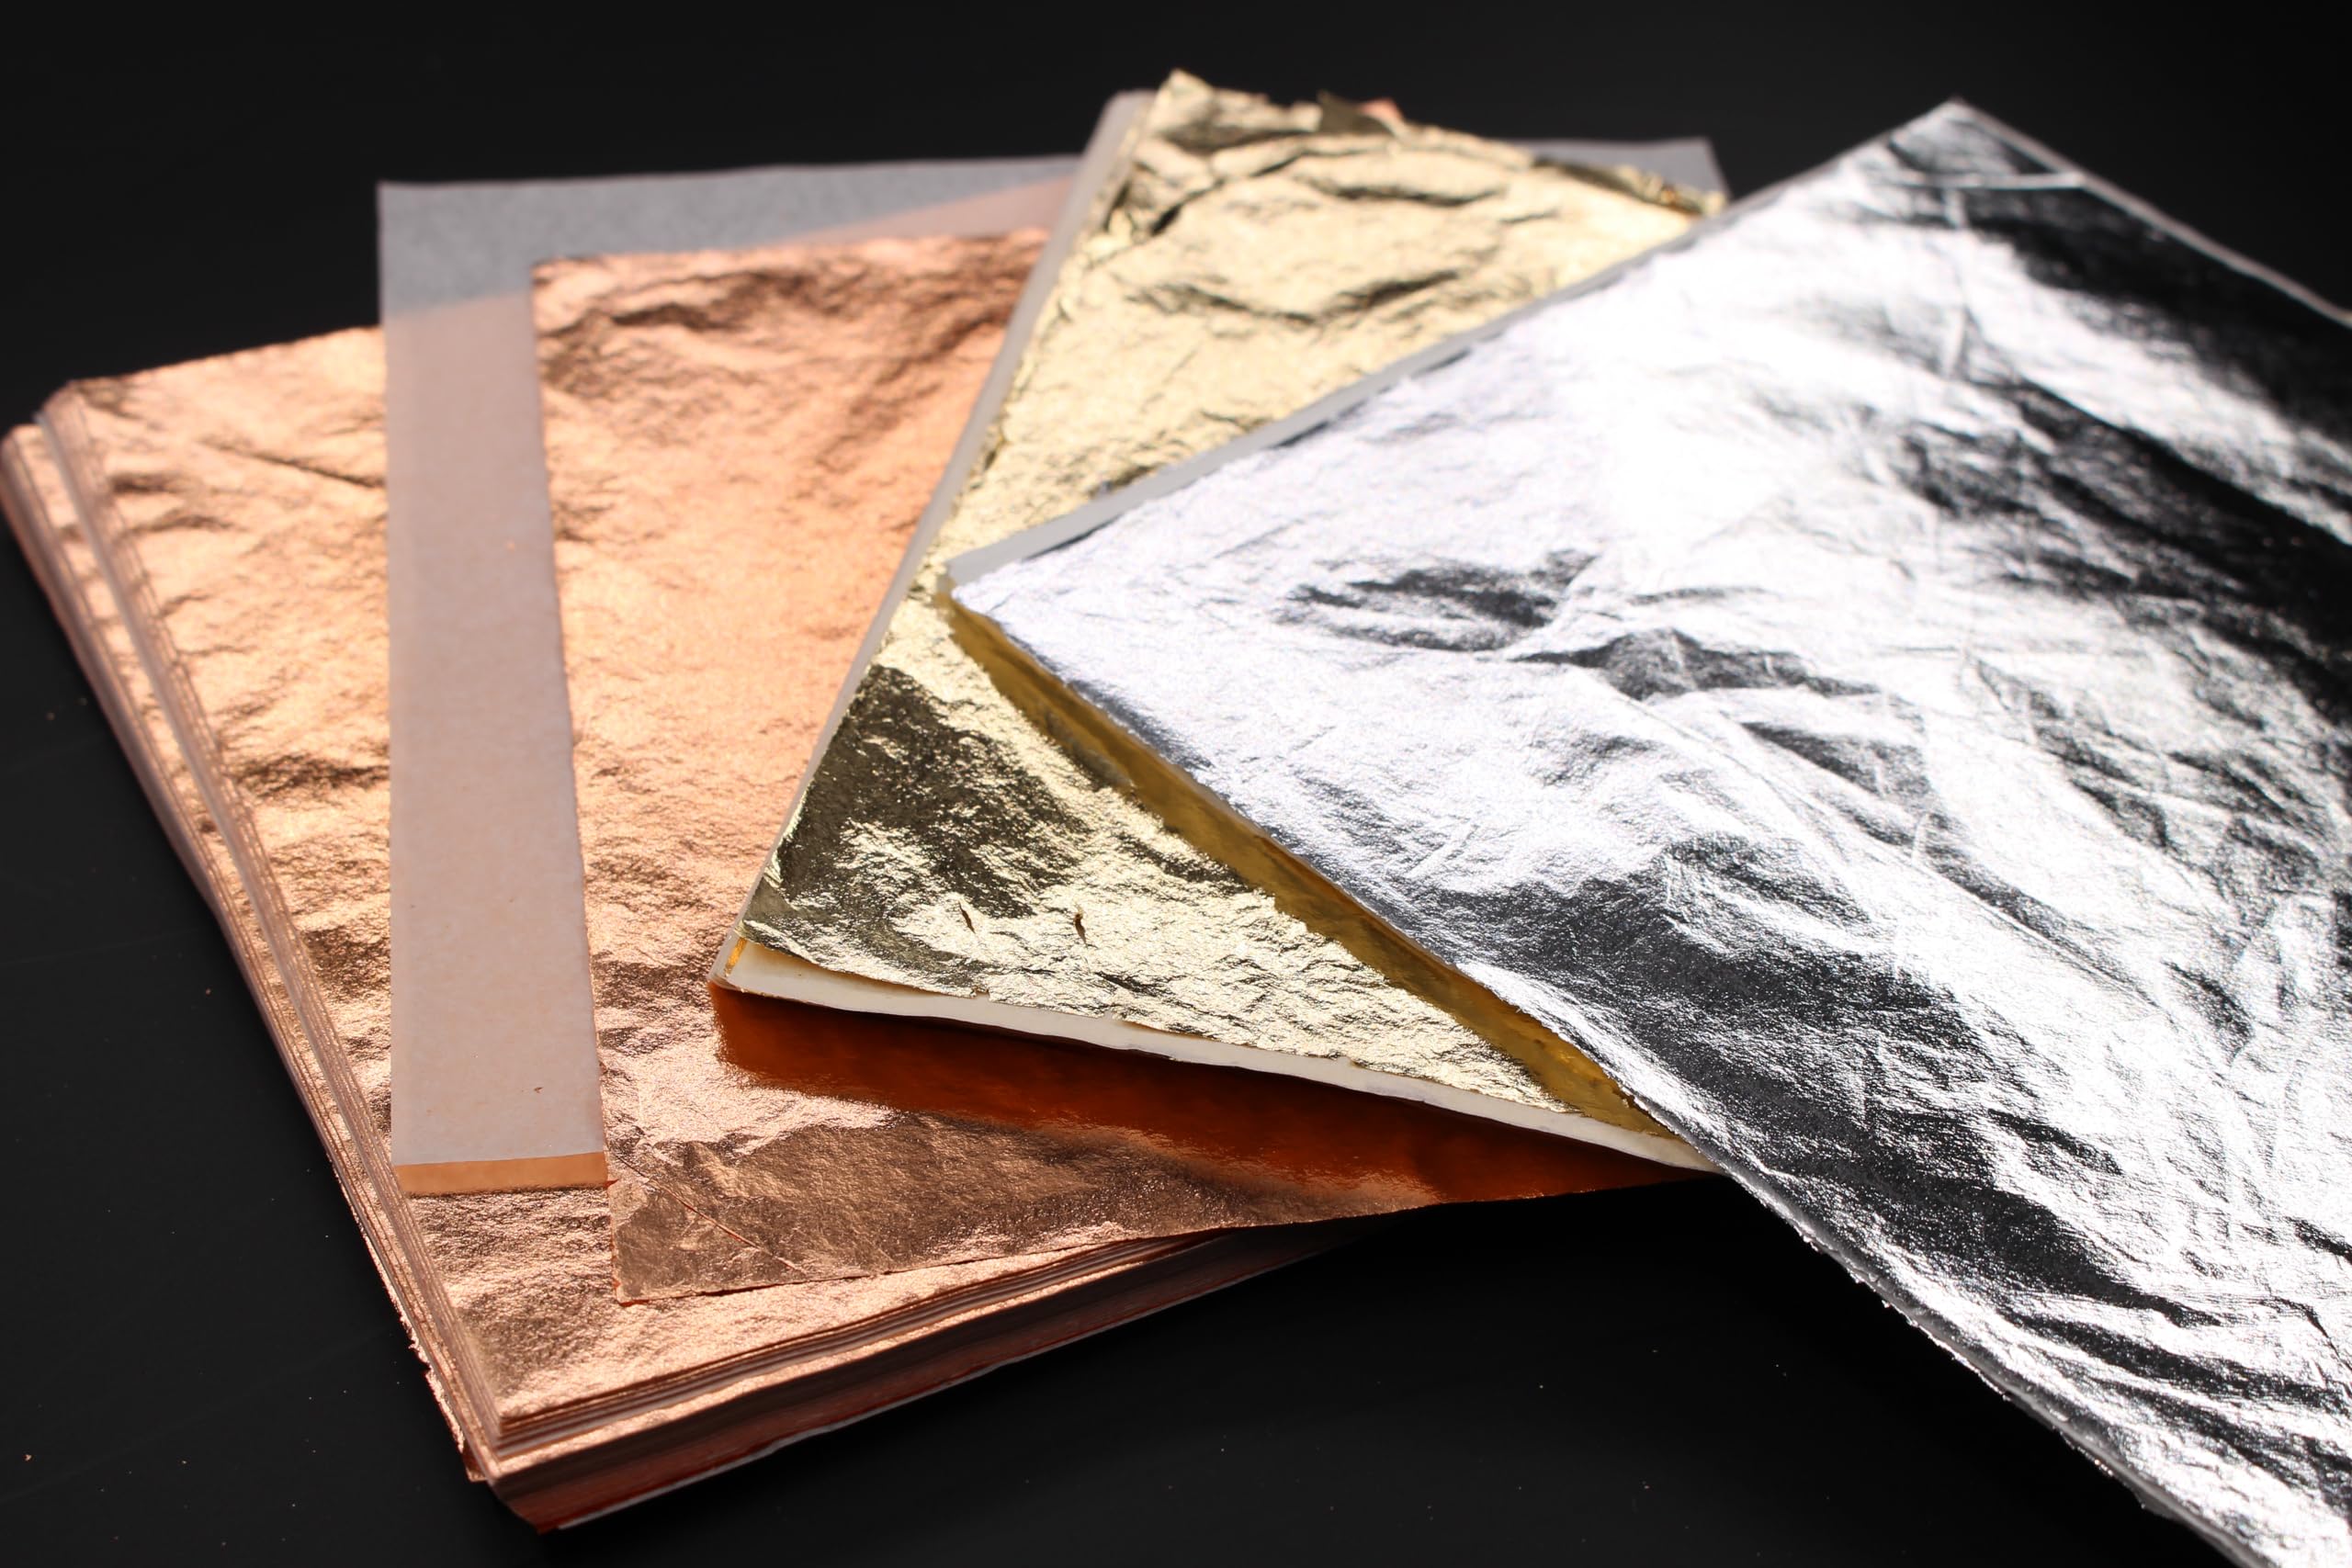
Take your sheets of gold metal leaf and place them on the areas containing the adhesive. Since the sheets of metal leaf are very thin and tear easily, consider wearing soft cotton gloves for easier application. Use your fingers to smooth the gold leaf flat on the adhesive strips to prevent bubbles or divots.
Step 4 :Remove unused leaf
Smooth wrinkles with your fingers or a clean, dry paintbrush. Trim the excess gold leaf around the edges of the plate. Due to the delicate nature of gold leaf, be careful not to damage the edges of your plate design when removing additional material. You can discard your leftover gold leaf or save for a future project.
Step 5:Apply sealer
Imitation Gold Leaf and Copper will tarnish, so it’s important to use a varnish or sealer over the top of these to prevent the tarnishing process.Once you're happy with the final gold leaf design, apply the sealer. This will protect and permanently set the gold leaf to your DIY project.
Things You Should Know Before Applying Gold Leaf
- Have a designated area to work in. One that isn’t going to get disturbed by your precious Pup or kiddos.
- Turn off your ceiling fan… if you have one. You might want to adjust the air-conditioned as well. No direct airflow should be on your project.
- Don’t sneeze! LOL.
- Don’t get in a hurry. This is a timely process and will be worth the effort and finesse you give it in the end.
- The adhesive is water-based, so wash out your brush after each application… or it will be a mess.
- Apply the gold leaf in small sections.
Have patience,more practice and enjoy it!


 Contact


